Google Maps is an incredibly useful tool for planning your travels. With its extensive database of locations, public transportation information, and user-generated content, it’s an essential resource for creating a comprehensive travel itinerary. Here’s a step-by-step guide to making a travel itinerary using Google Maps:
Start by creating a Google Account (if you don’t already have one) and sign in. This will allow you to save and access your itinerary from any device with internet access.
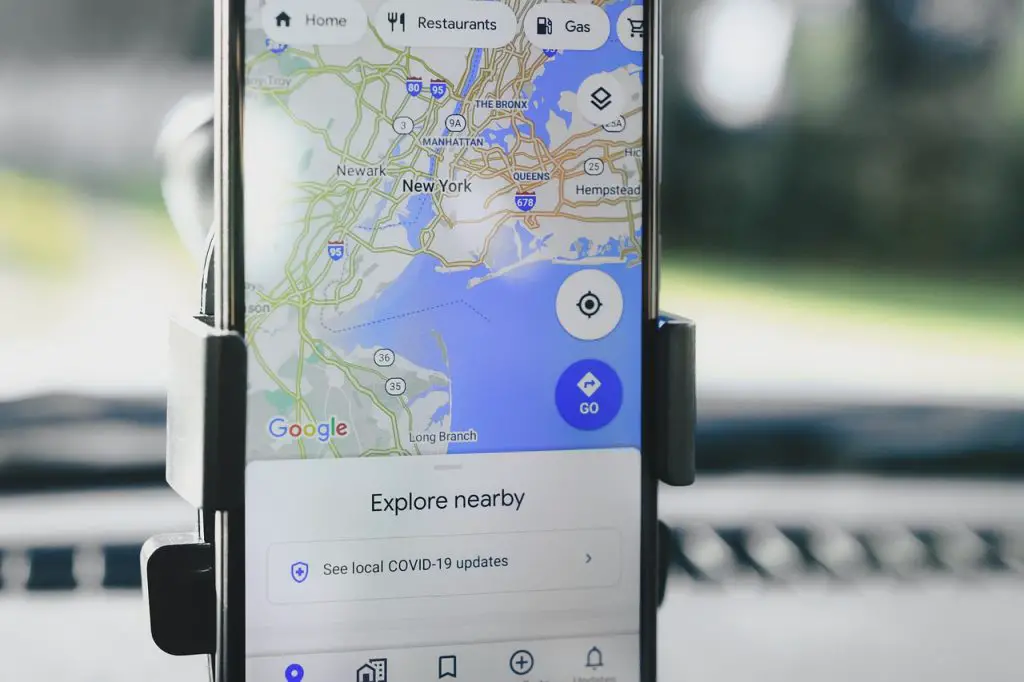
Open Google Maps (maps.google.com) in your web browser or mobile app.
In the search bar, type the name of the city or region you’re planning to visit and press Enter. This will center the map on your destination.
Click on the menu button (three horizontal lines) in the top left corner of the screen, and select “Your places.”
Go to the “Maps” tab and click on “Create Map” at the bottom. This will open a new map in a separate tab.
Name your map by clicking on “Untitled map” in the top left corner. Enter a name and description for your travel itinerary, then click “Save.”
Now it’s time to start adding points of interest (POIs) to your itinerary. In the search bar, type the name of a specific location or attraction you want to visit (e.g., “Eiffel Tower”) and press Enter.
Once you’ve found the POI, click on it to bring up the information window. Click the “Add to map” button (it looks like a plus sign) to add the location to your custom map.
Repeat this process for all the locations and attractions you want to include in your itinerary. You can also add restaurants, hotels, and other points of interest to your map.
Organize your POIs by creating layers for different categories (e.g., attractions, accommodations, restaurants, etc.). Click on “Add layer” in the menu on the left side of the screen, then rename the layer by clicking on the pencil icon next to the layer name. Drag the POIs into their respective layers.
Customize the appearance of your POIs by clicking on the paint bucket icon next to each location. You can change the color and icon style to differentiate between categories.
Plan your route by using the directions feature. Click on the “Directions” button on the left side of the screen, then enter your starting point and destination. Google Maps will provide you with the best route and travel time. If you have multiple stops, click the “+” button to add additional destinations. You can also drag and drop destinations in the list to change the order.
When you’ve finished creating your itinerary, you can share it with friends or family by clicking the “Share” button in the top left corner. Adjust the sharing settings to allow others to view or edit your map, then copy the link or send it via email.
Access your custom map on the go by opening the Google Maps app on your smartphone or tablet. Go to the menu, select “Your places,” then “Maps,” and find your saved itinerary. You can now view your custom map, get directions, and check information about your POIs while traveling.
By following these steps, you can create a detailed and personalized travel itinerary using Google Maps. This powerful tool will help you organize your trip, navigate with ease, and discover new destinations and hidden gems along the way. Google Maps provides valuable information such as distance, travel time, and route options for various modes of transportation, making it easy to plan and optimize your trip. Additionally, with user-generated content like reviews, photos, and ratings for attractions, restaurants, and accommodations, you can make informed decisions and tailor your itinerary to your preferences and interests.
In summary, using Google Maps to create a travel itinerary offers numerous benefits, including organization, ease of navigation, and access to valuable information and user-generated content. By incorporating this powerful tool into your travel planning, you can create a customized and unforgettable journey.